You must have seen moving images on tumblr or on any website or an advertisement. Almost all the tumblr images you have seen is a gif image format and most of them was created from a video. So, how can we make a gif from a video file?
First, let’s talk about what is a gif image.
A gif or Graphics Interchange Format supports animations of up to 256 colors for each frame.
It is a palette based which only hold up to 256 colors.
So, what are the requirements to be able to convert a video into a gif image?
- Photoshop
- Quicktime Player -An application required by Photoshop. Use to import and render frames within the video. It is capable of handling various formats like video and image. Download the player here.
- Video file
What Photoshop does is it gets the frames from the video and converts it into layers.
The layers then used in the animation frames in the gif image.
Step 1 Import the Video
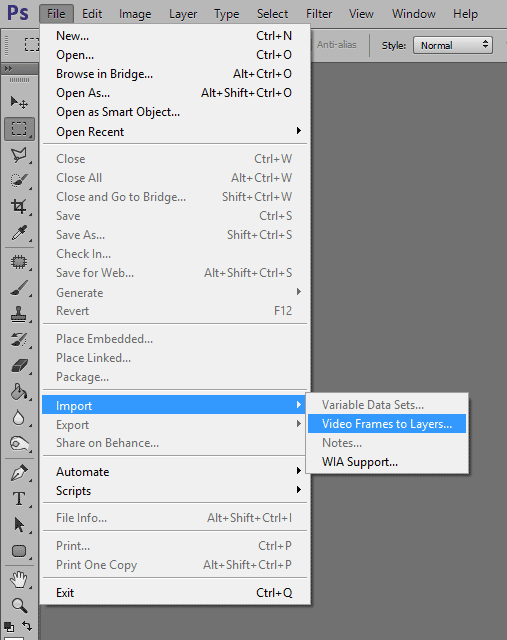
Open Photoshop. Head over to the top menu and click on File-Import-Video frames to layers.
An Import Video to Layers window will pop-up.
Step 2 Select Range to Import
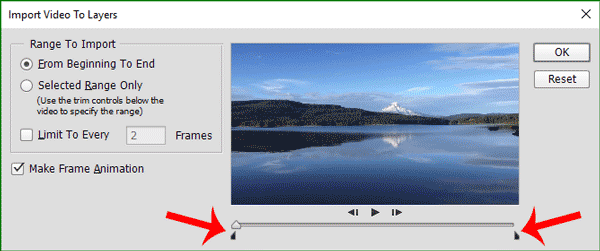
There are two options to choose from, from beginning to end or selected range only.
Most of the time you will choose the selected range since the option will take all the frames within the video.
It also depends on the video on how much frames it has every second so it would avoid creating hundreds of frames.
Use the trim control guides to select the range and duration.
See arrows within the figure above.
Step 3 Make frames from Layers
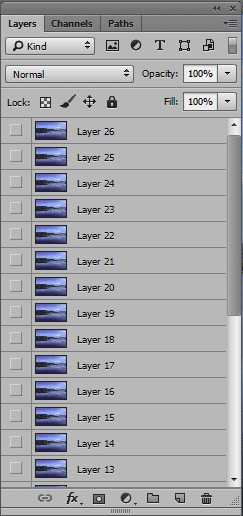
The frames will become layers now.
Depending on the range you selected is how much layers you will have.
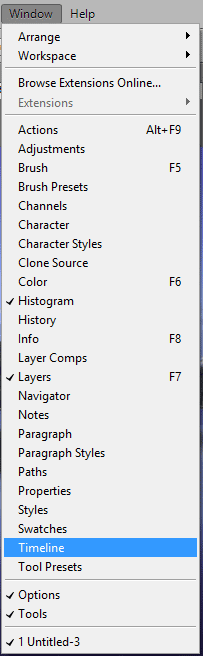
Now, we will open the timeline or animation tab.
Click on the window on the top menu and choose timeline.
It should open a tab/panel with your layers into it.
For an older version of Photoshop, you will select the animation option.
An animation tab will open.
If there will be no frames click on the toggle menu at the right side of the tab.
Select make frames from layers.
See 1 : Make sure you choose the forever in the loop option so the animation will loop again and again in our gif image.
See 2: If you have something to edit/change within you frames, click on this toggle icon and it will be converted into a video timeline.
In video timeline you can adjust the frame’s specific duration, style, position and opacity.

Step 4 Saving into a GIF Image
To save a gif image, click on file-save for web or hit Alt+Shift+Ctrl+S.
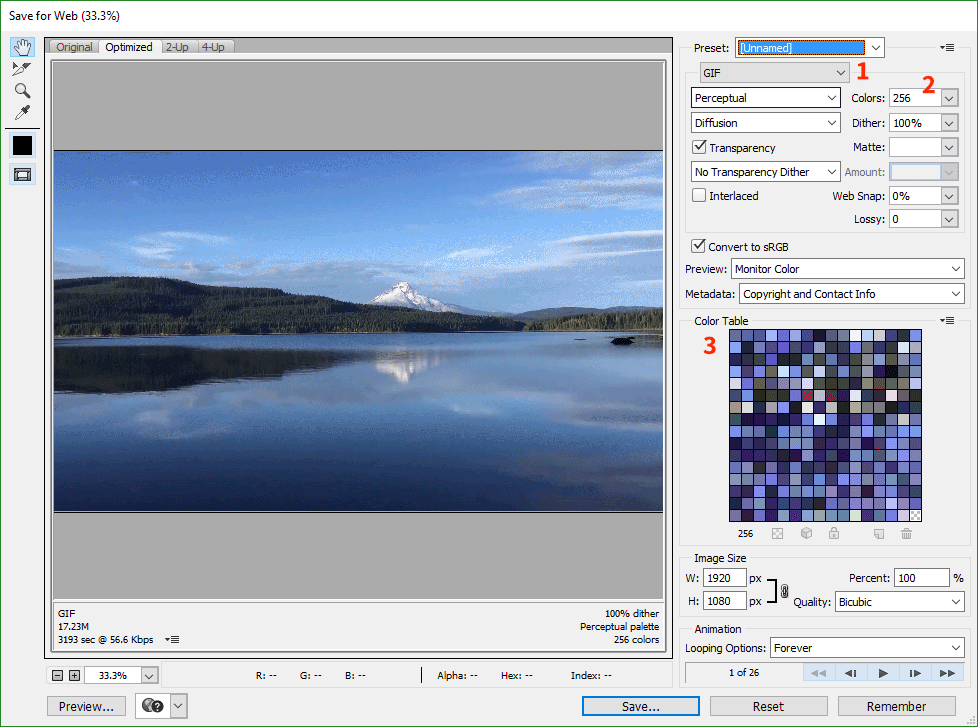
On the save for web window, make sure you select the GIF (see 1) file format.
Adjust how many colors we want lesser than 256 (see 2).
The colors within the image you created are seen at the color table (see 3).
Decrease the colors and the color table will also eliminates a color.
Lessening the colors as a result the image will be grainy so it is best to leave it at 256 colors.
We can also adjust the image size, width and height.
Save it by hitting save and test it by opening with browsers like chrome and firefox.
Now we have created a gif image from a video using Photoshop.