HOT
22bulbjungle
No Result
View All Result
22bulbjungle
No Result
View All Result
Home Web Development

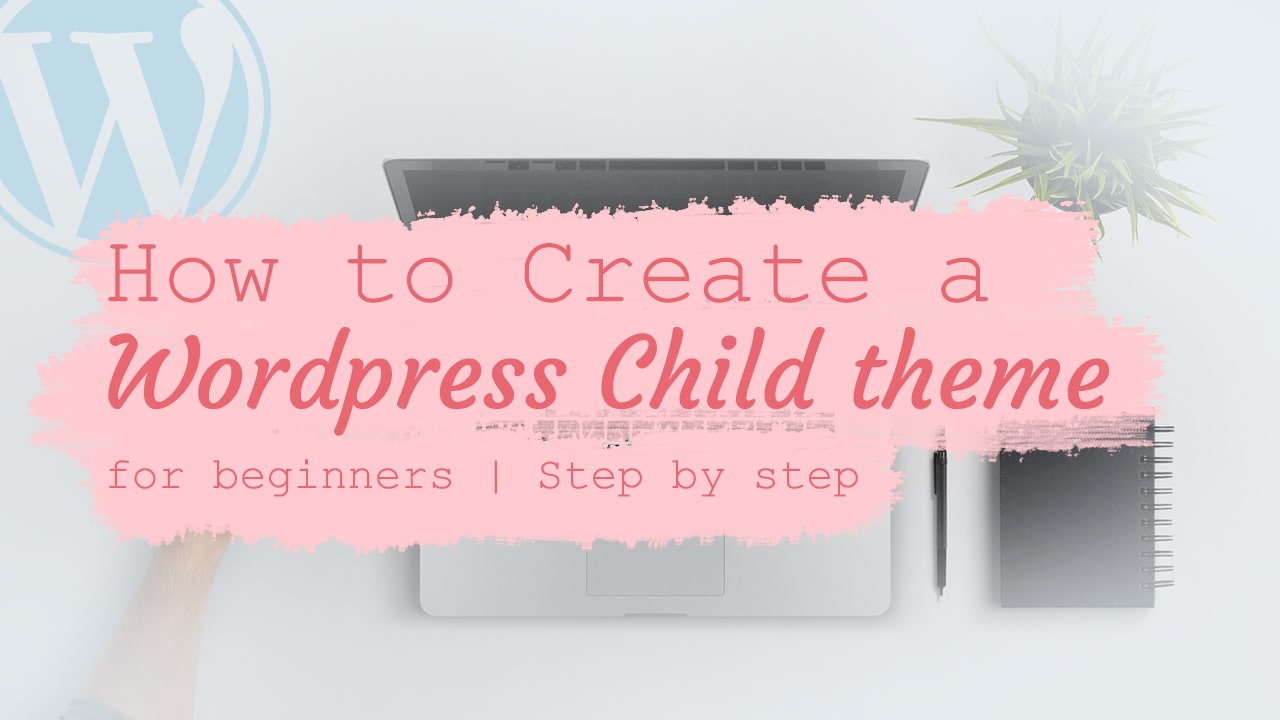
How to Create a WordPress Child Theme | Step by Step

in Web Development, Wordpress
Reading Time: 2 mins read
473 10
0
how to create a wordpress child theme for beginners step by step
664
SHARES
3k
VIEWS
Share on FacebookShare on Twitter

Follow the following steps to create a WordPress child theme.

Step 1: Go to your themes folder

Step 2: Choose a theme you want to have a child theme

Watch the following video that covers the whole process of creating a child theme. Either way, continue on the rest of the steps:

RelatedPosts

[UPDATED 2022] How to Get Your PayPal API Credentials (Username, Password, and Signature to Woocommerce)

Best Tools for Publishing Post Content (on WordPress, Shopify, Page Builders)

How To Set SEO Meta Title and Description in Duda Builder

Step 3: Create a new folder for the child theme.

Any name will do. The folder should be the same folder as your parent theme (not inside).

Step 4: Create two files inside the child theme folder.

Create a functions.php and style.css files inside the folder.

Step 5: Refer to the WordPress Theme Handbook.

Copy and paste the example theme basic info into your style.css file.

[css]

/*
Theme Name: Twenty Fifteen Child
Theme URI: http://example.com/twenty-fifteen-child/
Description: Twenty Fifteen Child Theme
Author: John Doe
Author URI: http://example.com
Template: twentyfifteen
Version: 1.0.0
License: GNU General Public License v2 or later
License URI: http://www.gnu.org/licenses/gpl-2.0.html
Tags: light, dark, two-columns, right-sidebar, responsive-layout, accessibility-ready
Text Domain: twentyfifteenchild
*/

[/css]

Copy and paste the enqueue function into your functions.php file.

[php]

add_action( ‘wp_enqueue_scripts’, ‘my_theme_enqueue_styles’ );
function my_theme_enqueue_styles() {

$parent_style = ‘parent-style’; // This is ‘twentyfifteen-style’ for the Twenty Fifteen theme.

wp_enqueue_style( $parent_style, get_template_directory_uri() . ‘/style.css’ );
wp_enqueue_style( ‘child-style’,
get_stylesheet_directory_uri() . ‘/style.css’,
array( $parent_style ),
wp_get_theme()->get(‘Version’)
);
}

[/php]

Step 6: Go to the wordpress admin dashboard and activate your child theme.

When you visit the website, it should the same as when the parent theme was activated. You’re done!

Done!

Now you can create modifications/changes in your child theme without affecting the parent theme’s core files.


Share266Tweet166Share66

Related Posts

How to Get Paypal API Credentials (Username, Password, Signature)
Ecommerce

[UPDATED 2022] How to Get Your PayPal API Credentials (Username, Password, and Signature to Woocommerce)

by 22bulbjungle
March 27, 2022
0

In this tutorial, I will show you how you can get your PayPal API credentials, username, password, and signature in 2022. First,...

Read more
Best Tools for Publishing Post Content (on WordPress, Shopify, Page Builders)

Best Tools for Publishing Post Content (on WordPress, Shopify, Page Builders)

February 22, 2022
How To Set SEO Meta Title and Description in Duda Builder

How To Set SEO Meta Title and Description in Duda Builder

January 26, 2022
How To Improve Customer Experience by Preloading Internal Links in Your Shopify Store

How To Improve Customer Experience by Preloading Internal Links in Your Shopify Store

December 8, 2021
How to Get Paypal API Credentials (Username, Password, Signature)

[UPDATED 2022] How to Get Your PayPal API Credentials (Username, Password, and Signature to Woocommerce)

March 27, 2022
Best Tools for Publishing Post Content (on WordPress, Shopify, Page Builders)

Best Tools for Publishing Post Content (on WordPress, Shopify, Page Builders)

February 22, 2022
How To Set SEO Meta Title and Description in Duda Builder

How To Set SEO Meta Title and Description in Duda Builder

January 26, 2022
How To Improve Customer Experience by Preloading Internal Links in Your Shopify Store

How To Improve Customer Experience by Preloading Internal Links in Your Shopify Store

December 8, 2021
How To Set Custom Metadata (meta title and meta description) on the Shopify Home Page

How To Set Custom Metadata (meta title and meta description) on the Shopify Home Page

November 7, 2021
Fix Post-processing of the image failed likely because the server is busy or does not have enough resources. Uploading a smaller image may help. Suggested maximum size is 2500 pixels.

How to Fix WordPress Image Upload Failed Error

June 6, 2021

Free Do it yourself tutorials on CSS, HTML, Photoshop, Wordpress, and Woocommerce to help you learn web development and graphic design.

Follow Us

Recent Tutorials

How to Get Paypal API Credentials (Username, Password, Signature)

[UPDATED 2022] How to Get Your PayPal API Credentials (Username, Password, and Signature to Woocommerce)

March 27, 2022
Best Tools for Publishing Post Content (on WordPress, Shopify, Page Builders)

Best Tools for Publishing Post Content (on WordPress, Shopify, Page Builders)

February 22, 2022

Categories

  • CSS
  • Duda Builder
  • Ecommerce
  • Elementor
  • Graphic Design
  • Javascript
  • PC Tips
  • Photoshop
  • Responsive design
  • Shopify
  • Video
  • Web Design
  • Web Development
  • Webdev Tips
  • Woocommerce
  • Wordpress
  • Home
  • Blog
  • Web Development
  • Graphic Design

© 2022 22BulbJungle.

No Result
View All Result
  • Home
  • Blog
  • Web Development
    • CSS
    • Javascript
    • WordPress
  • Graphic Design
    • Photoshop

© 2022 22BulbJungle.

Welcome Back!

Login to your account below

Forgotten Password?

Retrieve your password

Please enter your username or email address to reset your password.

Log In
This website uses cookies. By continuing to use this website you are giving consent to cookies being used. Visit our Privacy and Cookie Policy.